Wednesday, July 28, 2010

Candle Time!!

I love making hand stamped candles...they make such great gifts and you can stamp them to go along with any occasion!! I am now on the hunt for some cream colored tissue paper (they must make it...right?). I have a few unused vanilla candles around the house and I think they would be perfect for this technique too!! To learn how to make these yourself click on the resources tab on Splitcoast for a step-by-step tutorial..and remember that all candles and their melting points are different. You will notice the tissue paper melt right before your eyes like magic...I even 'WOWED' the kids!! Imagine that...they stopped playing their video games to watch mommy burn her fingers!! Just teasing...but be careful when using your heat gun, I didn't burn myself but I could feel the heat. I ended up stamping one side, letting it cool for a few minutes and then completed the other side. We are going to be making these at my Stamp Camp this Friday~ hope everybody likes them!!
I was inspired by a card on a demonstrator only website using this stamp set called Watercolor Trio (117050 W, 120084 C)...changed it just a bit and made the 3 x 3 card. I then knew that I wanted the candle to match~voila!! I love this set...and see many more cards (and candles) with it in the future!!
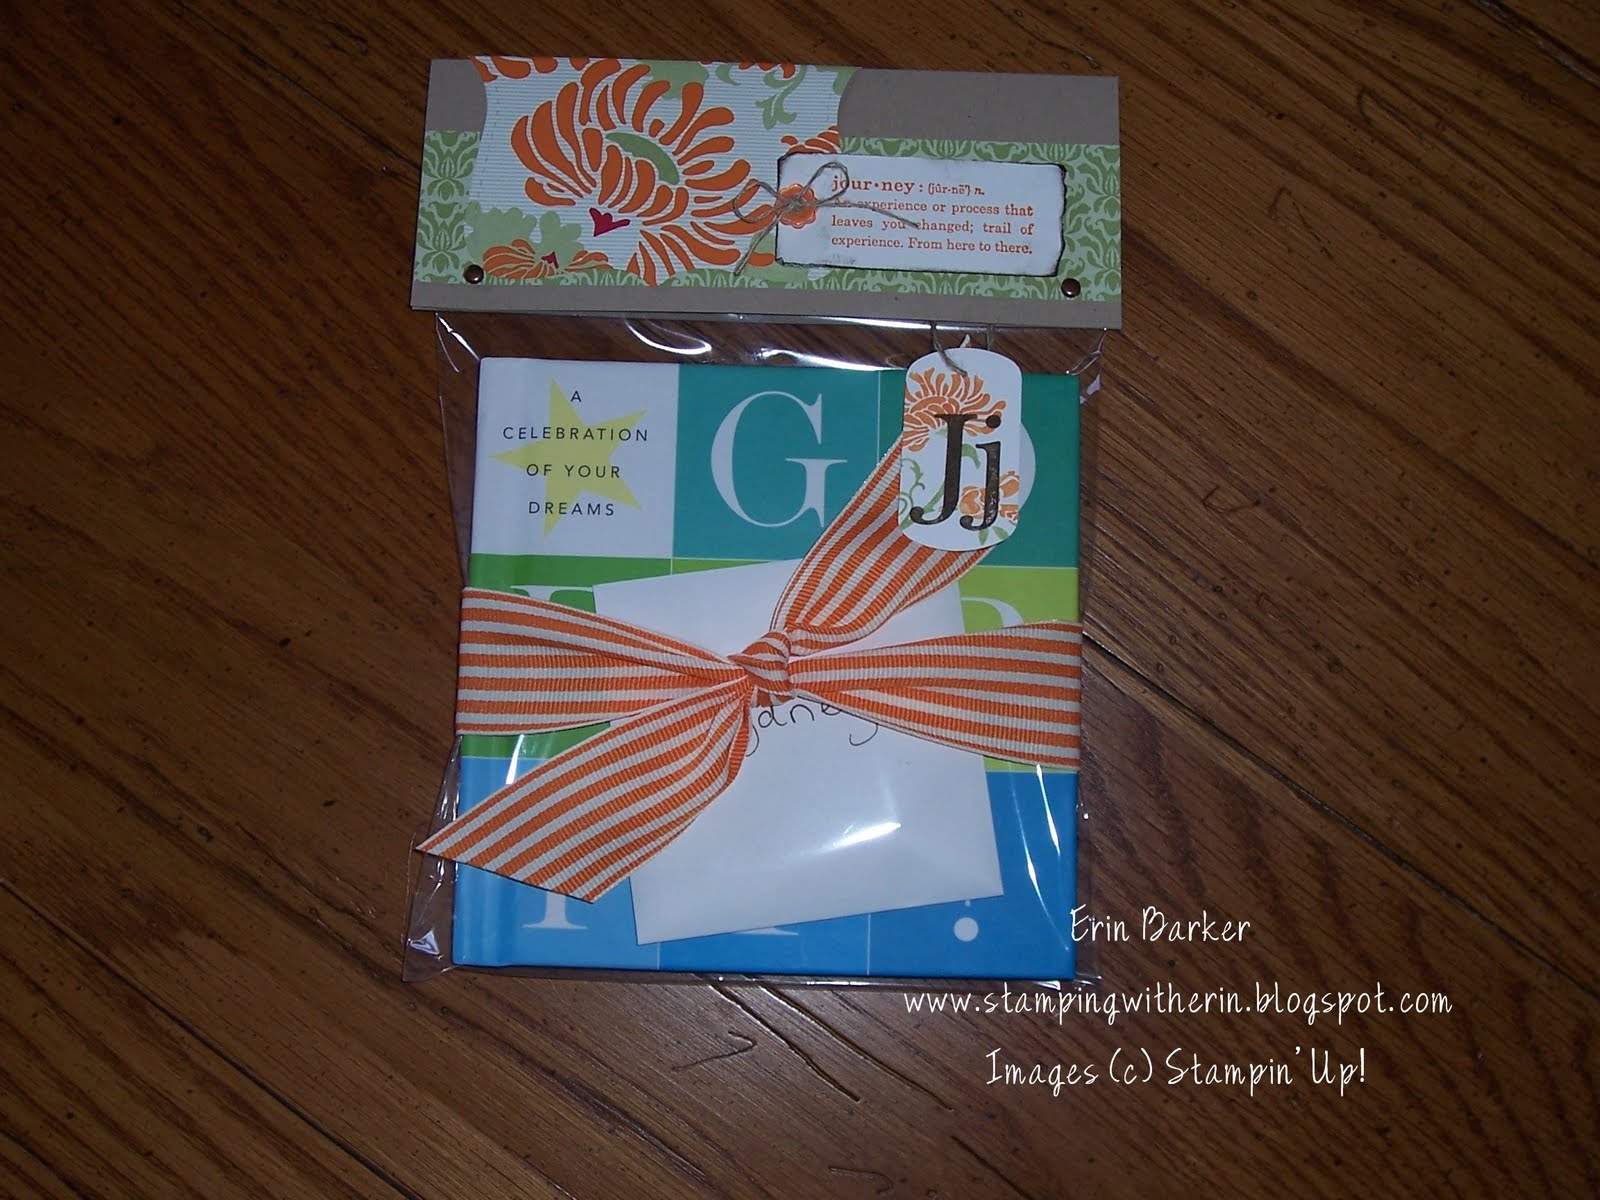
Now some of you have asked about the raffle drawing I had posted on my Stampin' Up! website. Here were the details: for every $50 you spent during the first week of July (celebrating the launch of the new catalog) you would have your name entered into a drawing. I had noted that I would have pictures of what you were to win...and I never got to making it!! Silly me....just had my hands full these past few weeks. So...here is a sneak peek...and the winner and more detailed pictures will be posted tomorrow! Until then...happy stampin'!
-Erin

Tuesday, July 27, 2010

I know what you are thinking...this is just TOO stinkin' cute!! This baby carriage card made with the Big Shot and Scallop Circle die (113468) was inspired after seeing one on Yvonne's blog (be sure to check out her Big Shot projects!!) I knew that I wanted to make a baby card at my next stamp camp and after looking through my stash of stamp sets I didn't have any current 'baby themed' sets except for the Sock Monkey and his rattle...so after some blog hoppin' this is what I ended up with...and I love it!! ~Thanks Yvonne!! The colors are Early Espresso (textured CS)and one of the new In Colors Pear Pizazz (could be for either boy/girl) . Here is a close up of the inside of the card: the stamped sentiment is from Curvy Verses (114948).
The other card that we will be making is a wedding card. This was inspired/CASED from Splitcoast . I used the Full Heart Extra large punch (119883) and layered with the bigger heart punch from Punch Windows (115953) and Big Shot. The bride's dress and matching envelope were embossed using the Finial Press embossing folder (115963). I will also be demo how to make stamped candles..expect pictures of that in tomorrow's post. Hope you all have a great day and thanks for stopping by!!
~Erin

Monday, July 26, 2010

Here Comes the Bride

Babies and weddings..or should I say weddings then babies?? This past week for me has flown by!! Last Monday my girlfriend delivered a beautiful baby girl and I was able to be in the delivery room with her. All I can say is "WOW" what a miracle! Such a different experience to not be the one pushing!! Here in Va the heat has been beyond extreme and this past Saturday was the worst yet~ I think temps reached 105 (felt even worse with the humidity!!) I didn't even want to go outside and swim in the pool!! Could you imagine getting married in this heat?? Yup~ crazy I know but a friend of mine asked me to help her make a card holder for her sister's wedding which was in this heat...she was married outside!! A 2:00 in the afternoon wedding.....yikes!! So here is a picture of what we came up with. There are 4 different sized hat boxes that were painted and covered with the ribbon. The bottom one has a slit that my husband cut to slide the wedding cards in...turned out pretty cute (if I do say so myself!!). Attached some flowers and oh...you wanted to know about the stamping...silly me!! From the top: the 'M' is from the Lovely Letters Alphabet (115030)punched out with 1 3/8" circle punch and layered with a Melon Mambo scallop circle. The little pink flower is from the new Level 1 hostess set Because I Care (118384 W, 120118 C). I printed the names of Bride & Groom and cut out using the Big Shot and Scallop Circle die (113468). Stamped image again using same stamp set in Certainly Celery. Layered that onto a piece of Chocolate Chip CS and vanilla taffeta ribbon. The bottom box uses Styled Vanilla Hodgepodge Hardware (112454) and the sentiment is from the new Hostess Level 3 stamp set called Occasional Quotes. That's it....pretty simple!! Plus it's a great keepsake.
Now here is what I mentioned in a previous post I would share with you my bedroom~ but I had to dust off my table, clean my room, etc....hee hee! A few months ago I re-painted my bedroom (for like the 6th time)the color of our Soft Suede...just took a piece of CS into Lowes and they matched it...I LOVE IT!! So does my husband and he's glad because he won't ever have to paint in there again!! Anyway...I have been wanting to try our Decor Elements and my style/decor is VERY country..for those that know me...my walls are covered with 'country crap' I don't think I could ever move....there is a place for everything that I own...and they don't want to be disturbed!! So I didn't know what would compliment my style and this worked...plus it was simple to do...looks like it was handpainted right on the wall!! Here is a close up (sorry about the glare from the flash). I would have a helper though...makes it much easier (I had my 10 year old daughter Regan help). Click here to see the current Definitley Decorative 2010-2011 catalog. Tomorrow's post I will share with you the cards that we will be making mat my next Stamp Camp...and yup you guessed it...one is a wedding card and the other is a baby card!! Take care and happy stamping!!
~Erin

Monday, July 12, 2010

Aloha!!

Here are the cards I mentioned in a previous post that we made at my last workshop. It was a Hawaiian themed Stamp-n-Lunch and OMG my friend Marie (the hostess) went ALL out!!
She always amazes me with her creativity when it comes to food, party decor and favors..but get this...when everyone arrived we all received a REAL beautiful lei flown in overnight from Hawaii....yes Hawaii !! I couldn't believe it...it looked so delicate and pretty!! First of all...I have only travelled outside of the country once..to Costa Rica and Hawaii is one of those places I dream of going to and if I never make it there...that's okay...it was if I had gone!! The food we had was delicious...I am beginning to drool as I type...yummy!!
Since our theme was 'Hawaiian' she asked me to use an expired stamp set she had called Doin' the Hula. What a great stamp set..it's hard to find really good masculine cards. This shirt would be perfect for a Jimmy Buffet fan!! I took a picture of the inside to show how easy it is to make a slit using the word window punch for a gift card.
This next card was a favorite!! I had seen some cute cards on the web made to look like a grass skirt...and I loved the hula girl. This was what I came up with. Hard to tell from the photo but she was embossed using black embossing powder. The flower was made using the Big Shot and Sizzlit Birds & Blooms Flower Pieces (113485) attached with a clear rhinestone brad. Isn't it cute?? The background paper that was stamped looked so pretty IRL that somebody thought it was actually DSP!!

These next two cards use a stamp set from the current Summer Mini-Catalog called Tropical Party (W 118515, C 120081) . The first card I took two pictures of to show how it slides open. Very cute idea to use for a party invitation~ I used the new Square Lattice Embossing folder (119976) on the stamped coconut along with the Island Oasis DSP (117173) for a belly band. Cut out a stamped flower and added a rhinestone brad...was actually pretty quick and easy!!

The second one uses a new favorite color of mine called Daffodil Delight (this card also happens to be textured CS) Details: Using a rubber brayer and post-it-note I masked a moon image using a 1" circle punch and tore the bottom of the post-it-note. I used the new Marina Mist and brayered until I liked the color...the more ink the deeper the color. Then I sponged the 'sand' with Crumb Cake (formally known as Kraft). Stamped the palms with Early Espresso and Voila~! It's no Michelle Zindorf...but close huh??
J/K... when you open it, the inside piece of Early Espresso is meant to be a background for a photo of a loved one...cute huh?? Maybe a picture taken from some exotic tropical place...perhaps Hawaii?? Oh and almost forot to mention the front embellishment (silver hodgepodge hardware 111325) ~ the sentiment is from the stamp set called Elements of Style (W 118611, C 120045) also from the Summer Mini-Catalog. But it fits perfectly inside the hardware piece. Well...hope you have enjoyed these cards and be sure to check back tomorrow...I will show you my bedroom!~ I have painted the walls in Soft Suede and added an image from the Definitely Decorative line...it turned out pretty cute!! Hope you all have a great day and please feel free to contact me if you have any questions!!
-Erin

Sunday, July 11, 2010

End O' the Year~~

Oh...end of the year in SO many ways!! For the teachers this year I made these thank-you cards and treat bags for our Greenwood 'Gator' Elementary School....this stamp set called 'Wild About You' will have to stay in my collection even though it's retired as long as I have a child attending the school....it was perfect!! Do you recognize the DSP?? Retired too...but the colors were perfect too since the school's colors are green and blue. If you look closely at the silver hodgepode hardware...you will notice that it's not the size that you get with the tin. Here's how: Using paper snips...cut it! Then attach the ends behind the cardstock and Voila!~ Pretty cool huh? I know after seeing this sneaky little trick...I will be using a lot more hardware pieces for embellishments.
Now...since it was also the end of the Stampin' Up! year out with the old and in with the new~ Here is a graduation gift and notecard I made for my niece...using the new Greenhouse Gala DSP (my personal favorite!!) If it were available in fabric..I would be making pillows and quilts..every piece is beautiful and it coordinates with the new set called Friends Never Fade (part of Shelli's Signature Collection)...trust me she has GREAT taste!! On the card I used one of the new bitty buttons featured in the Summer Mini Catalog (118761) along with the coordinating punch from the punch pack (118309). These are SO cute and tiny!! For the gift bag I used one of the large cello bags and created a topper~quick and easy!!
Tomorrow I will post pictures of the cards we made at my last workshop...Aloha themed Stamp-n-Lunch. Hope you all have a great day!!
-Erin
Blogging tips